
Summer Sale! 🏷️ Ride Into Summer! Save Big!
--
Days--
Hours--
Mins--
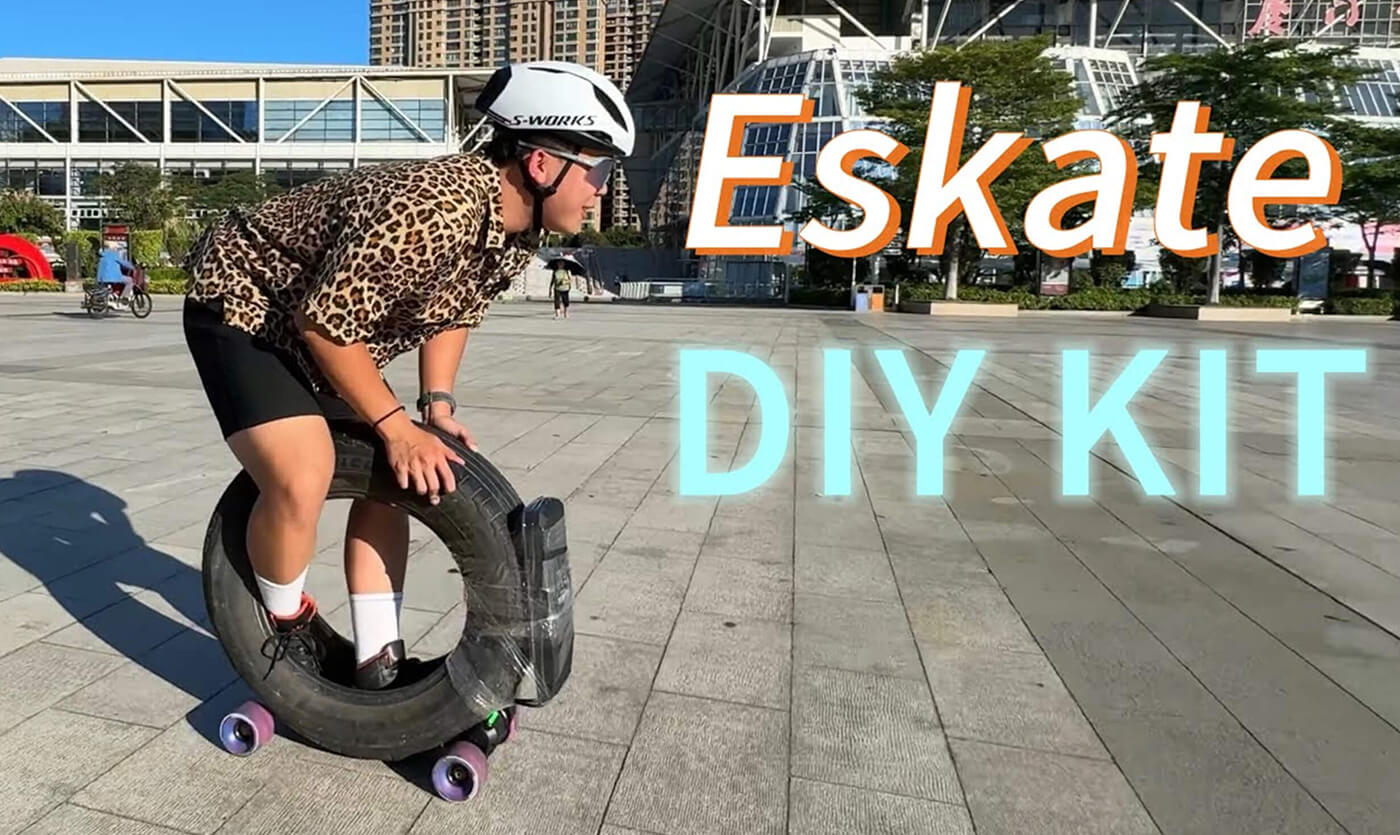
SecsElectric skateboards are a thrilling and eco-friendly way to get around. Whether you're commuting, cruising around your neighborhood, or just having fun, they offer a unique experience. Building your own DIY electric skateboard kit is not only cost-effective but also a fun and rewarding project. Plus, it gives you the freedom to customize your board exactly how you want it.
If you’ve been thinking about building your own electric skateboard, this guide will walk you through each step, from selecting the right parts to assembling and testing your board. Let’s dive into it!

Before you start assembling, you’ll need a few key components. Here’s a quick list of what you’ll need:
Deck: This is the foundation of your skateboard. You can choose from a variety of styles, but for a beginner, a sturdy, slightly flexed deck works best for comfort.
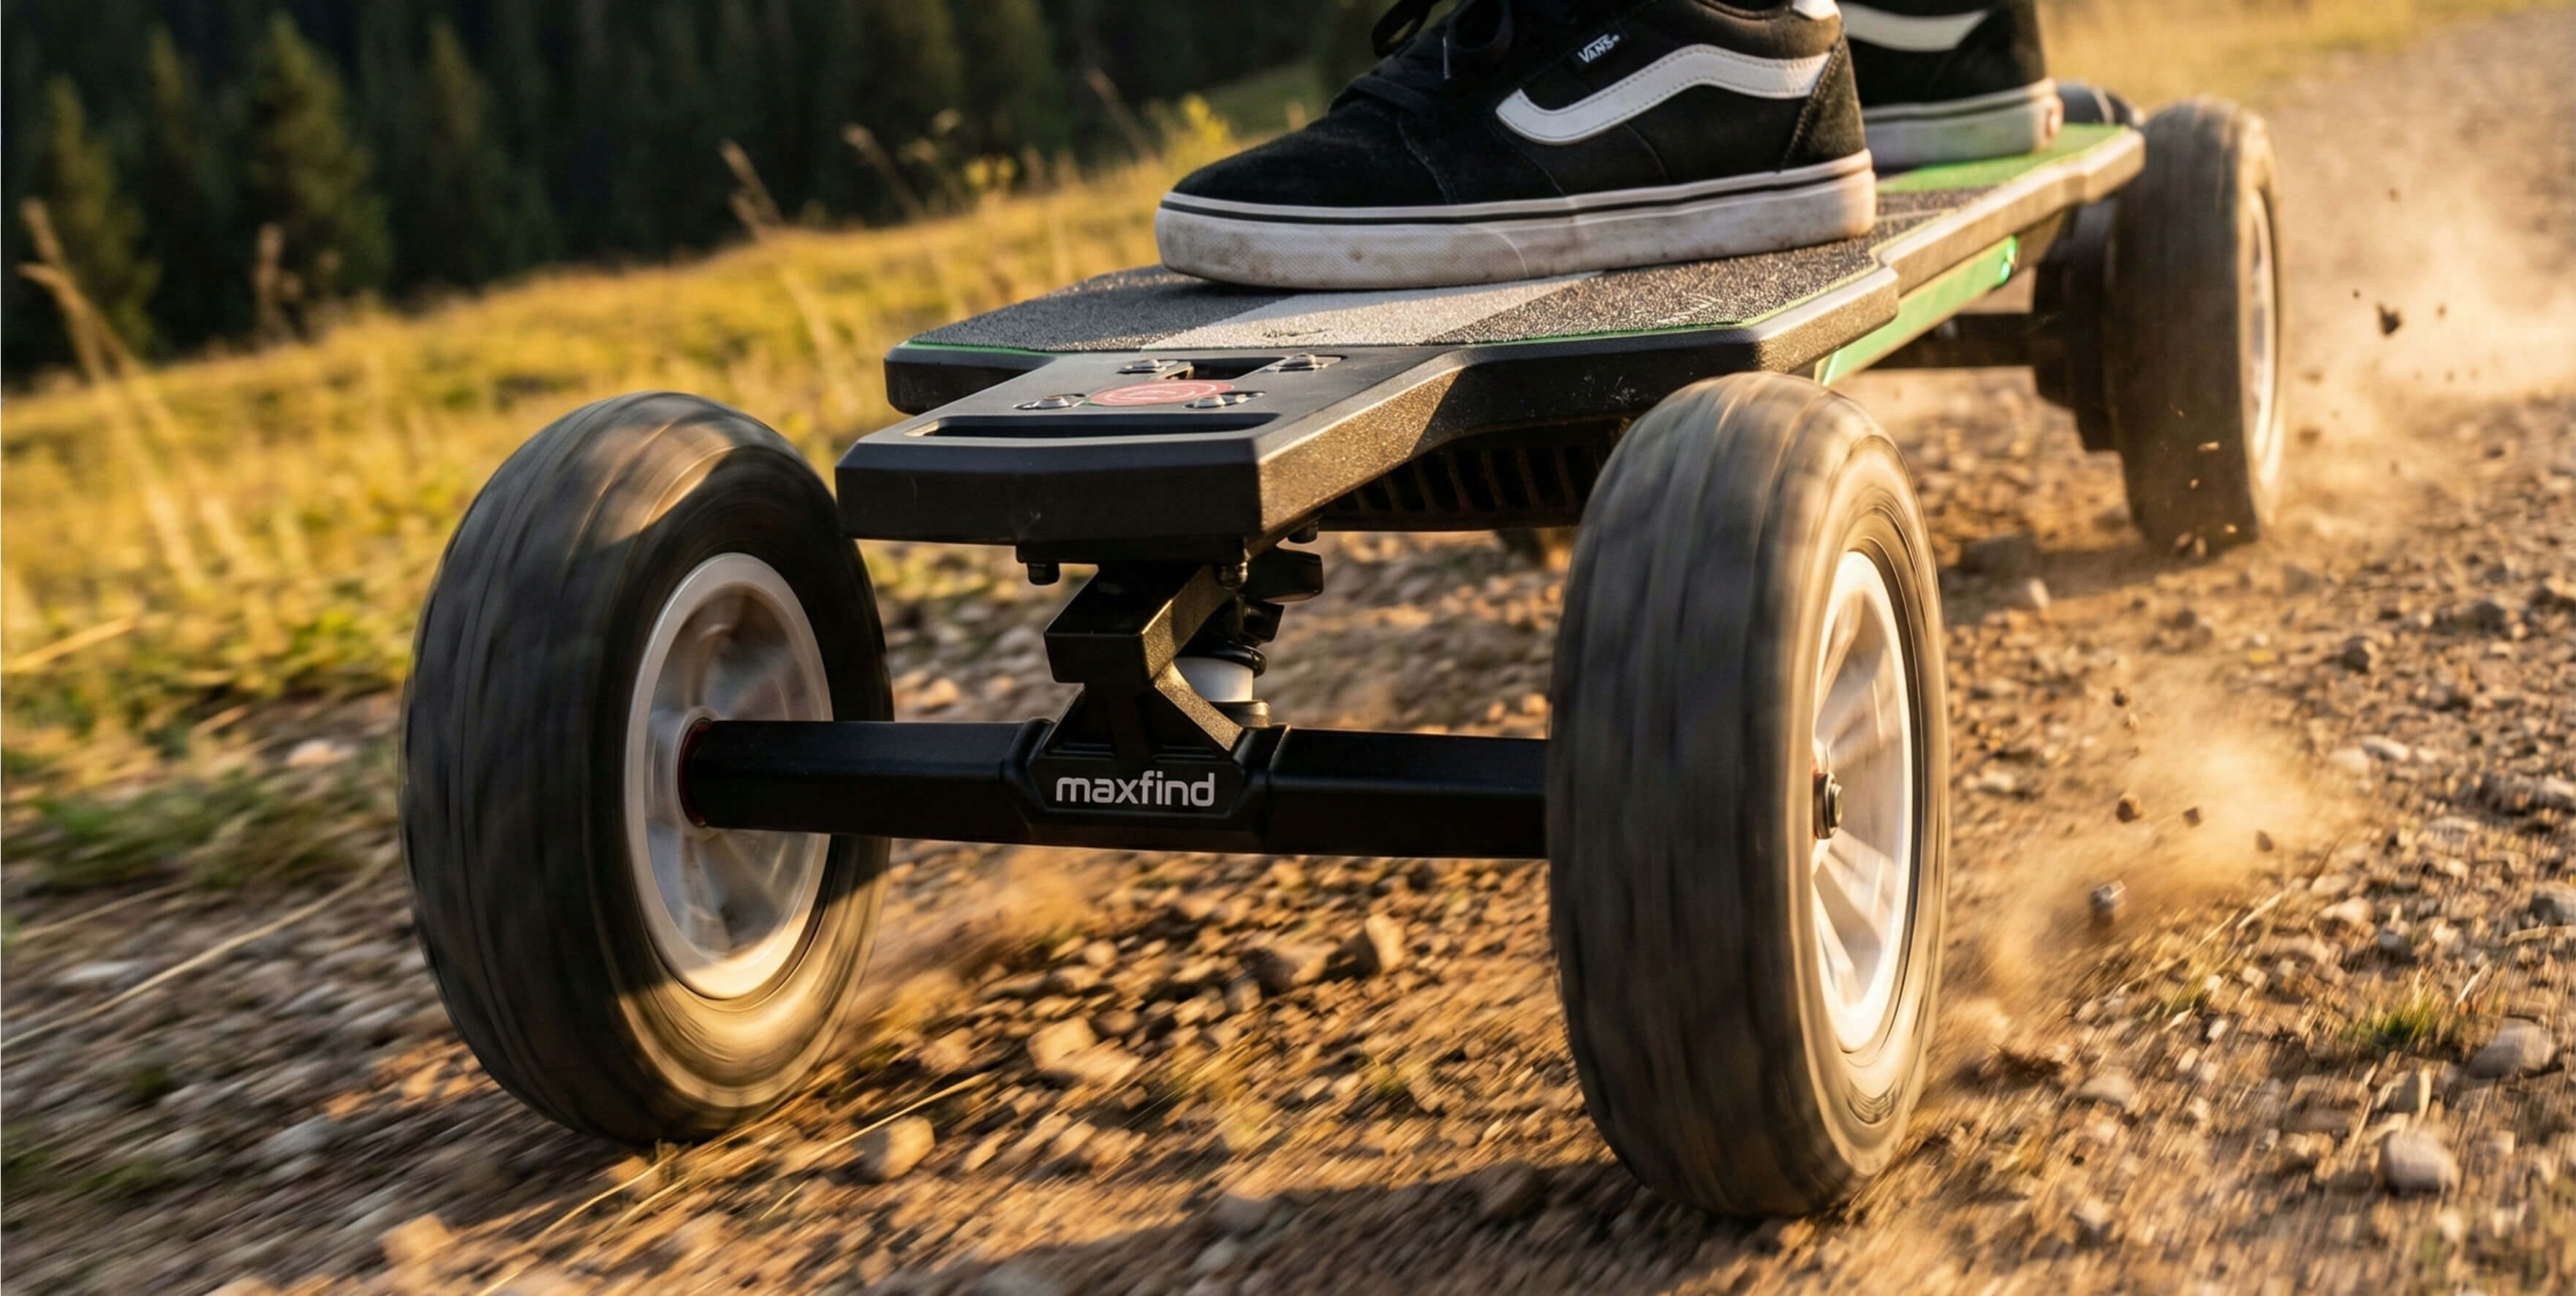
Trucks: These are the metal components that hold the wheels. You’ll want to make sure they’re compatible with your deck size.
Wheels: Choose wheels based on the terrain you'll be riding on. Softer wheels work better for rougher roads, while harder wheels are better for smooth, urban roads.
Motor: A brushless motor is ideal for an electric skateboard. The size of the motor depends on your desired speed and power.
ESC (Electronic Speed Controller): The ESC controls the motor's speed, so you’ll want one that matches the motor you’ve chosen.
Battery: Lithium batteries are the most commonly used. You'll need one that provides enough power for your motor and gives you a good range.
Remote Control: This allows you to control the skateboard’s speed and braking from your hands.
A soldering iron for connecting wires.
Wrenches and screwdrivers for assembling the components.
A multimeter to check the voltage of your battery.
Safety gear, like gloves and goggles to ensure you’re safe while handling electrical components.

Choosing the right deck is key to your skateboard's overall feel and performance. For beginners, a top-mount deck offers better stability and control, while a drop-through deck lowers the board’s center of gravity, making it feel more stable at higher speeds.
Make sure the deck is sturdy enough to support the weight of the motor, battery, and rider.
The motor you choose determines how powerful and fast your skateboard will be. A 500W to 1000W motor is a good range for most riders, but if you plan on going up steep hills, you may want a more powerful motor.
When selecting an ESC, it should match your motor’s specifications. Look for an ESC that supports the motor's voltage and current, and is designed to work with the battery you’ve chosen.
Your battery choice affects your range and the weight of your skateboard. A 10S lithium-ion battery (36V) is ideal for a good balance of speed and range. Be sure to choose a battery with enough amp-hour (Ah) rating to support your motor for your desired distance.
Once you’ve got your deck and trucks, it’s time to mount the trucks onto the deck. Start by placing the trucks at the marked holes on the deck. Use the screws provided with your truck kit and tighten them with a wrench until they are securely in place.
Next, attach the wheels to the trucks. Simply slide the wheel onto the truck’s axle and secure it with a nut. Make sure the wheels spin freely and aren’t too tight. A little bit of resistance is fine, but they should move smoothly.
Now, let’s get to the electronics! The motor and ESC need to be connected using wires. First, connect the motor wires to the ESC, making sure to match the colors and polarity. Use a soldering iron to securely attach the wires to the motor and ESC terminals.
Once the motor and ESC are connected, it’s time to wire the battery. The battery needs to be connected to the ESC, which controls the power sent to the motor. Again, use your soldering iron to connect the positive and negative terminals of the battery to the ESC.
Be sure to check your connections carefully. Any loose or incorrect connections could lead to performance issues or even damage the components.
Now that your electrical components are connected, you’ll need to install an enclosure to house the battery, ESC, and wiring. The enclosure protects these components from damage while also keeping them in place. Make sure the enclosure is securely mounted to the deck.
Before you go for a ride, perform a few tests. Turn on the remote and try powering up the skateboard. Check that the motor responds to the throttle, and the brakes work properly. If something doesn’t feel right, troubleshoot by checking your connections and settings.
Every DIY electric skateboard kit will come with some form of customizable settings through the ESC. Fine-tune the speed, braking, and acceleration to match your comfort level. Start slow and gradually increase the settings as you become familiar with how the skateboard responds.
This is where you can get creative! You can add LED lights for visibility, design custom grip tape, or even paint the deck to reflect your personality. These small tweaks will not only make your board look great but also help you stand out.

While building your own electric skateboard can be a fun and rewarding experience, there may be some bumps along the way. Here are some common issues you might encounter and how to fix them:
Motor not spinning: Check the motor wiring and ensure it’s connected properly to the ESC.
Battery not charging: Verify that the charger is working and that the battery terminals are properly connected.
ESC overheating: Make sure the ESC is properly ventilated, and check that it’s not drawing too much current.
Congratulations! You’ve successfully assembled your DIY electric skateboard. Now it’s time to hit the streets and enjoy the ride. Remember, the more you experiment and customize, the better your board will get. So don’t be afraid to make adjustments and fine-tune it to perfection.
If you're looking for an easy way to get started without all the hassle of sourcing individual parts, check out our Cyber Electric Skateboard Kit. It’s a complete electric skateboard conversion kit that includes everything you need to get up and riding, fast. With premium components and simple assembly, you can transform any regular skateboard into a powerful electric ride. Whether you're a beginner or an experienced builder, our kit makes the process quick, easy, and enjoyable.
Feel free to share your build with the community and learn from other DIY electric skateboard enthusiasts. Happy riding!
More Reading: How an Electric Skateboard Works


Share:
How to Choose the Best DIY Electric Skateboard Kit?
Surprising a Commuter: Is an Electric Skateboard the Perfect Gift?
1 comment