
Summer Sale! 🏷️ Ride Into Summer! Save Big!
--
Days--
Hours--
Mins--
SecsElectric skateboards are a fun, eco-friendly, and efficient way to get around, whether you’re cruising down the street or commuting to work. But let’s be honest—buying a brand-new electric skateboard can get pretty expensive. If you’ve got an old skateboard lying around, why not breathe new life into it and turn it into an electric ride? This upgrade can save you some money while still giving you the thrill of an electric skateboard. In this guide, we’ll show you how to upgrade your old skateboard to an electric one and hit the streets in style.
Before you dive into the upgrade process, take a good look at your old skateboard. Is it in good condition? Are the wheels, trucks, and deck still sturdy enough to support the additional weight and power of the electric components? If your board is cracked or worn out, it might be a good idea to start with a new deck, but if everything seems solid, you’re good to go!
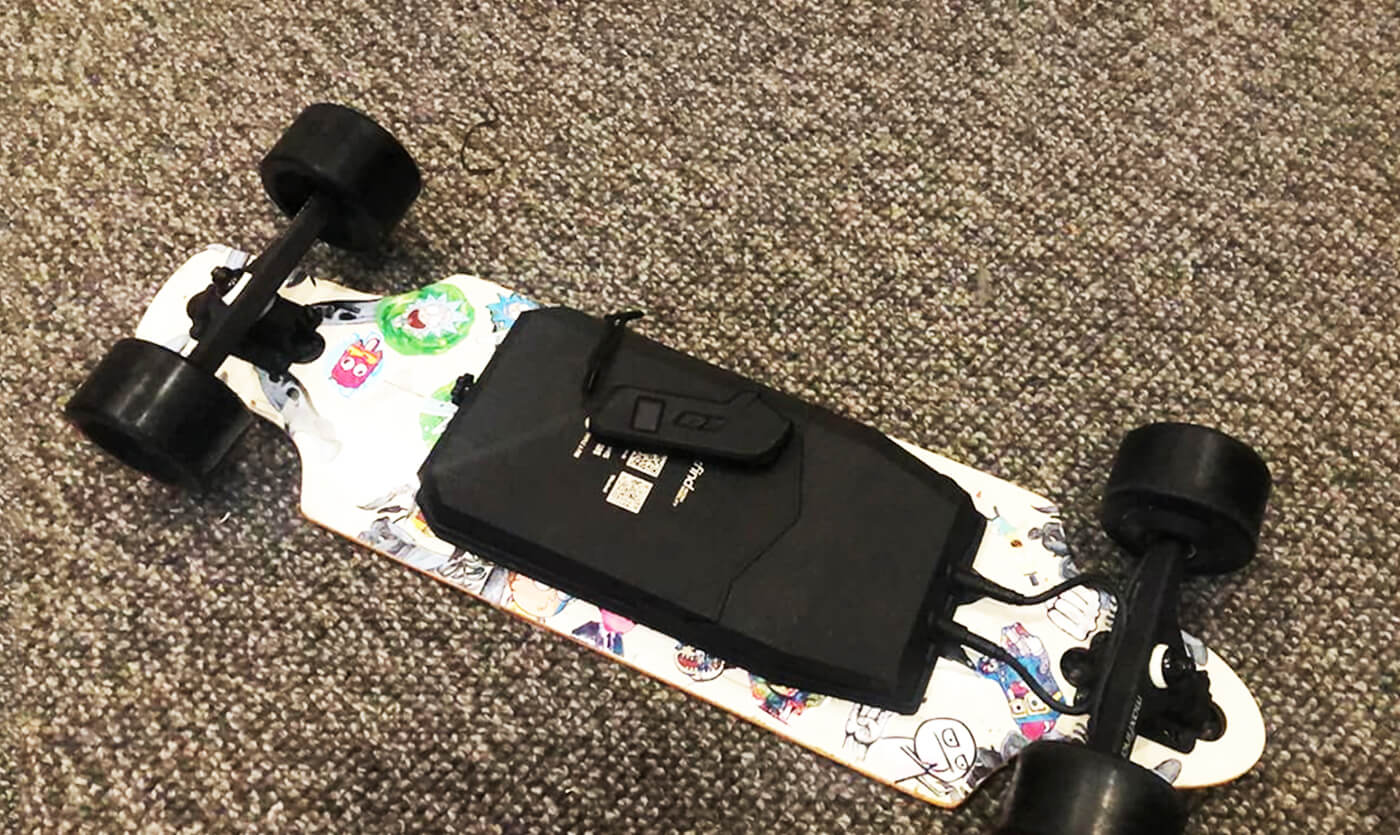
When upgrading your old skateboard to an electric one, there are several key components you’ll need to consider. Here’s an overview of the essential parts and the key parameters to keep in mind:
The motor provides the power to your skateboard. The size and power of the motor will affect the speed, torque, and hill-climbing ability.
Power: Motors typically range from 250W to 1500W. Higher-powered motors (e.g., 1000W–1500W) are better for high performance, speed, and climbing steep hills.
Motor Type: Motors come in two types—hub motors (integrated into the wheels) and belt-driven motors (external motors connected by a belt). Hub motors are quieter and more efficient, while belt-driven motors offer more power and torque.
The ESC controls the motor's speed and braking. It’s an essential component for ensuring smooth acceleration and reliable braking.
Voltage Compatibility: Ensure the ESC is compatible with your motor’s voltage (e.g., 6S, 10S, or 12S systems).
The battery is responsible for powering the motor. Its capacity determines how far you can ride on a single charge.
Voltage: Common voltage ratings are 36V, 48V, and 52V. Higher voltage batteries provide more power and longer range.
Capacity: Battery capacity is measured in Ampere-Hours (Ah). For a good range, look for a battery with at least 5Ah to 10Ah. A larger capacity will give you a longer range, typically between 10–25 miles depending on terrain and speed.
Size: Depending on the battery type, the physical size can vary. Expect a battery pack to be about 8–12 inches in length and 3–4 inches in width, and weigh between 2–5 lbs.
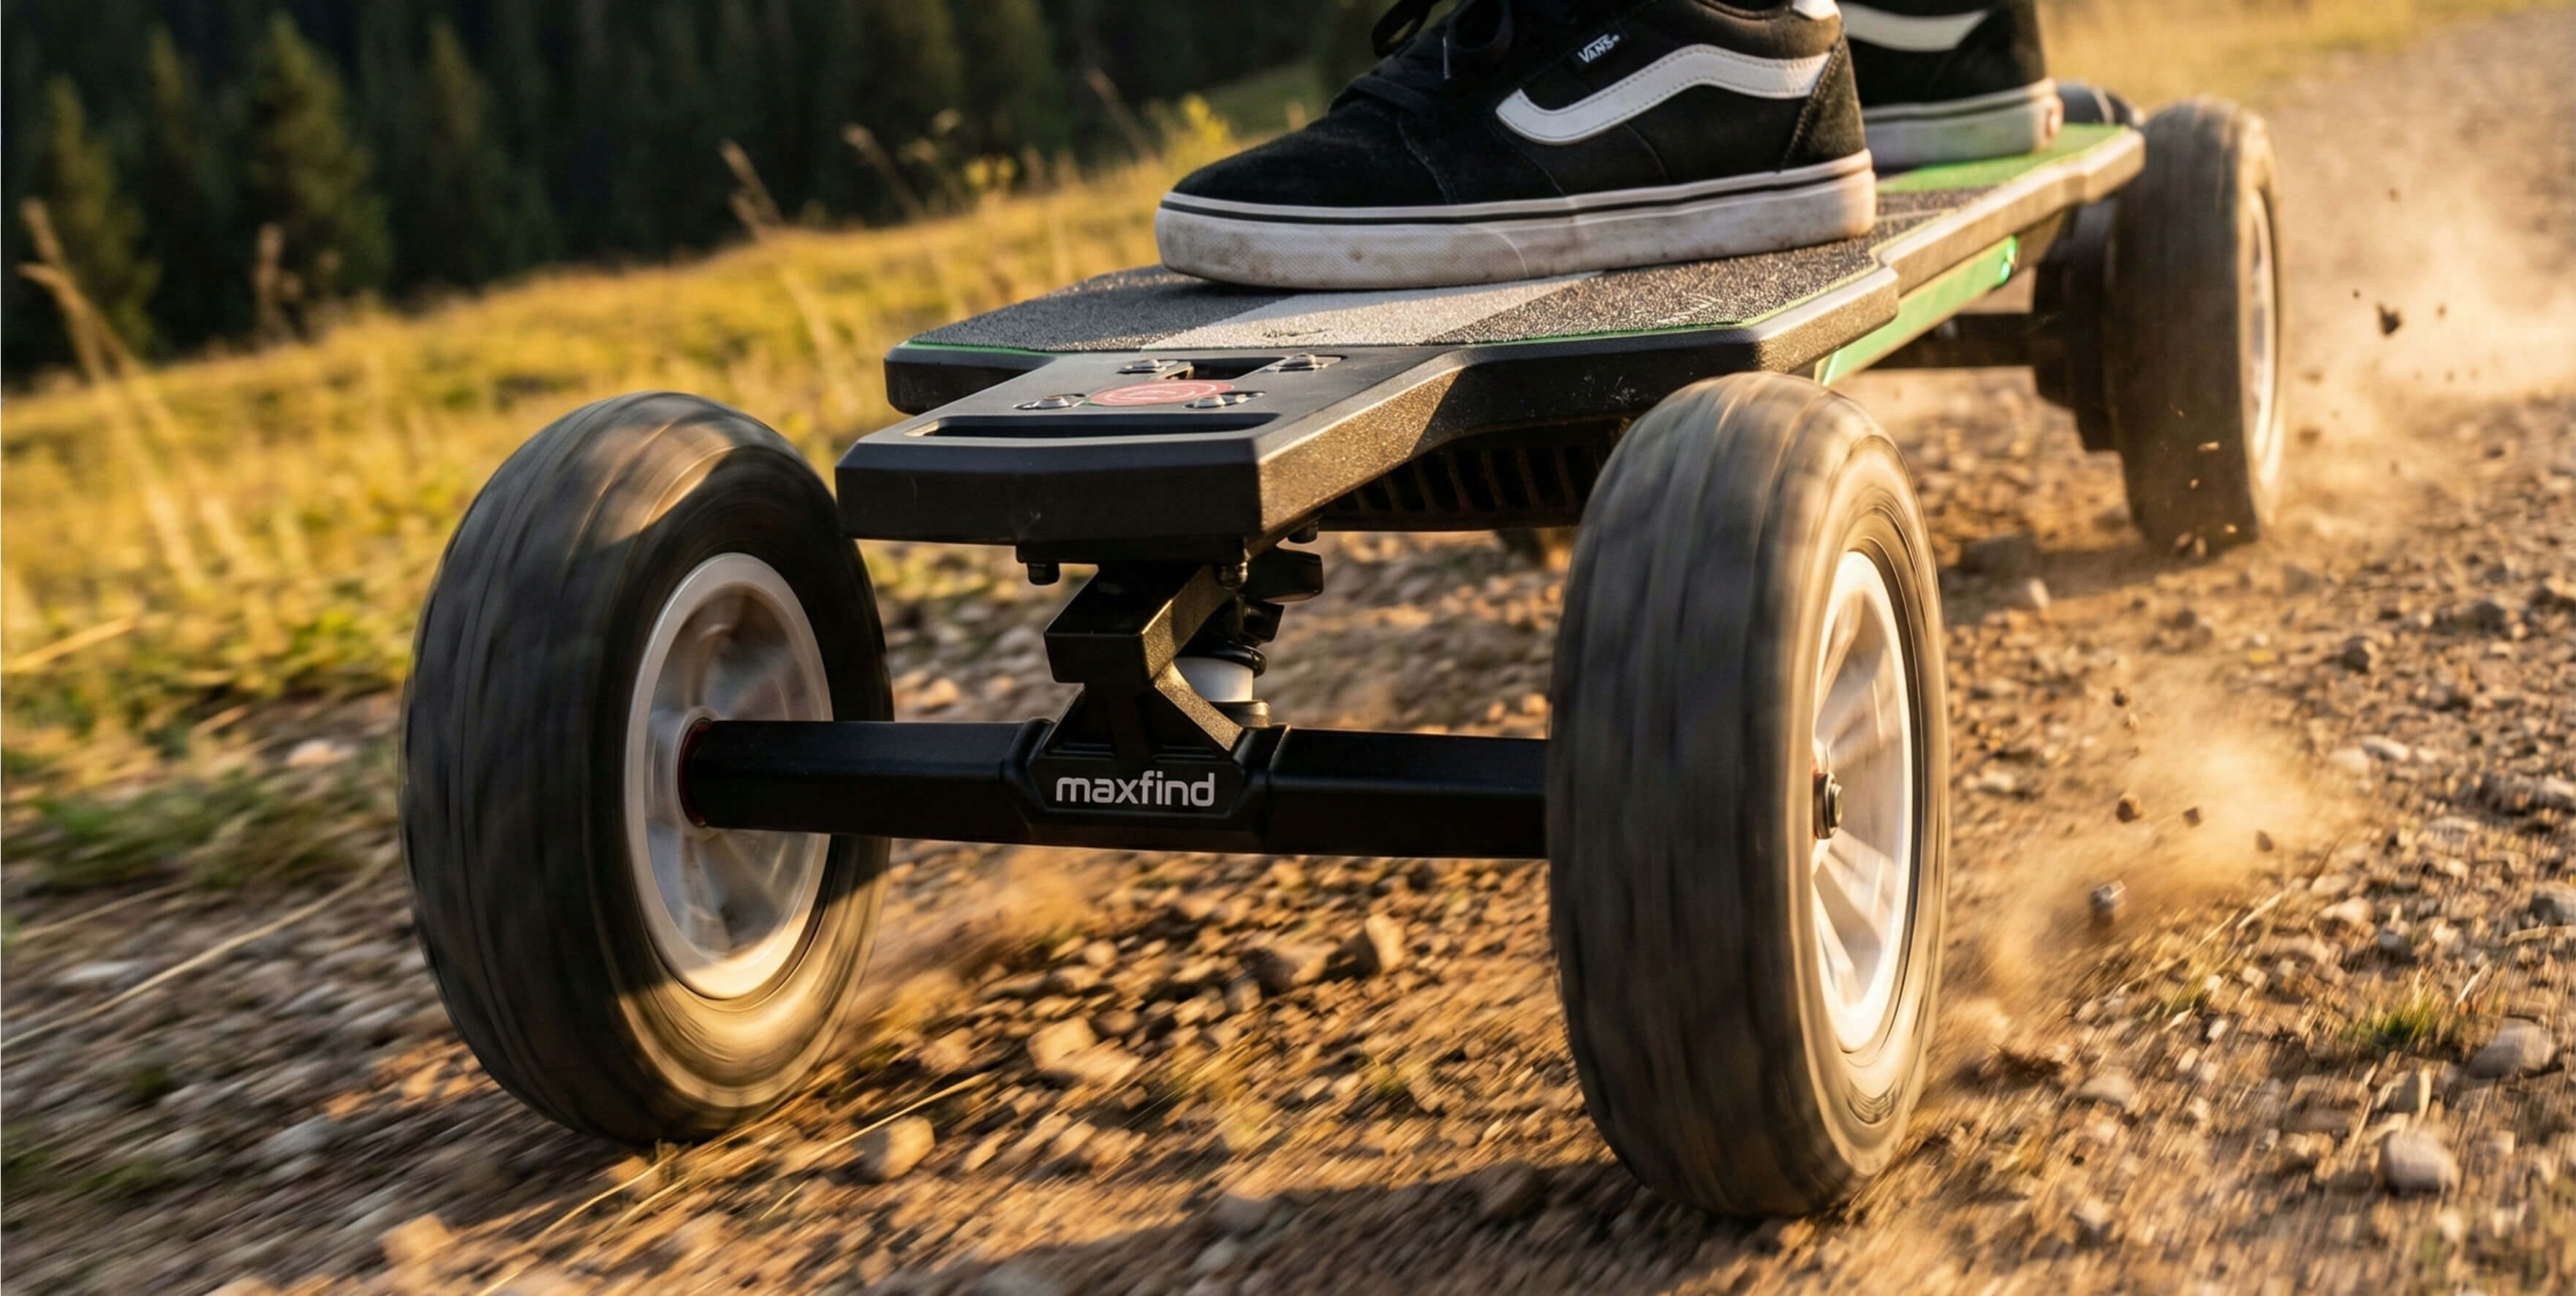
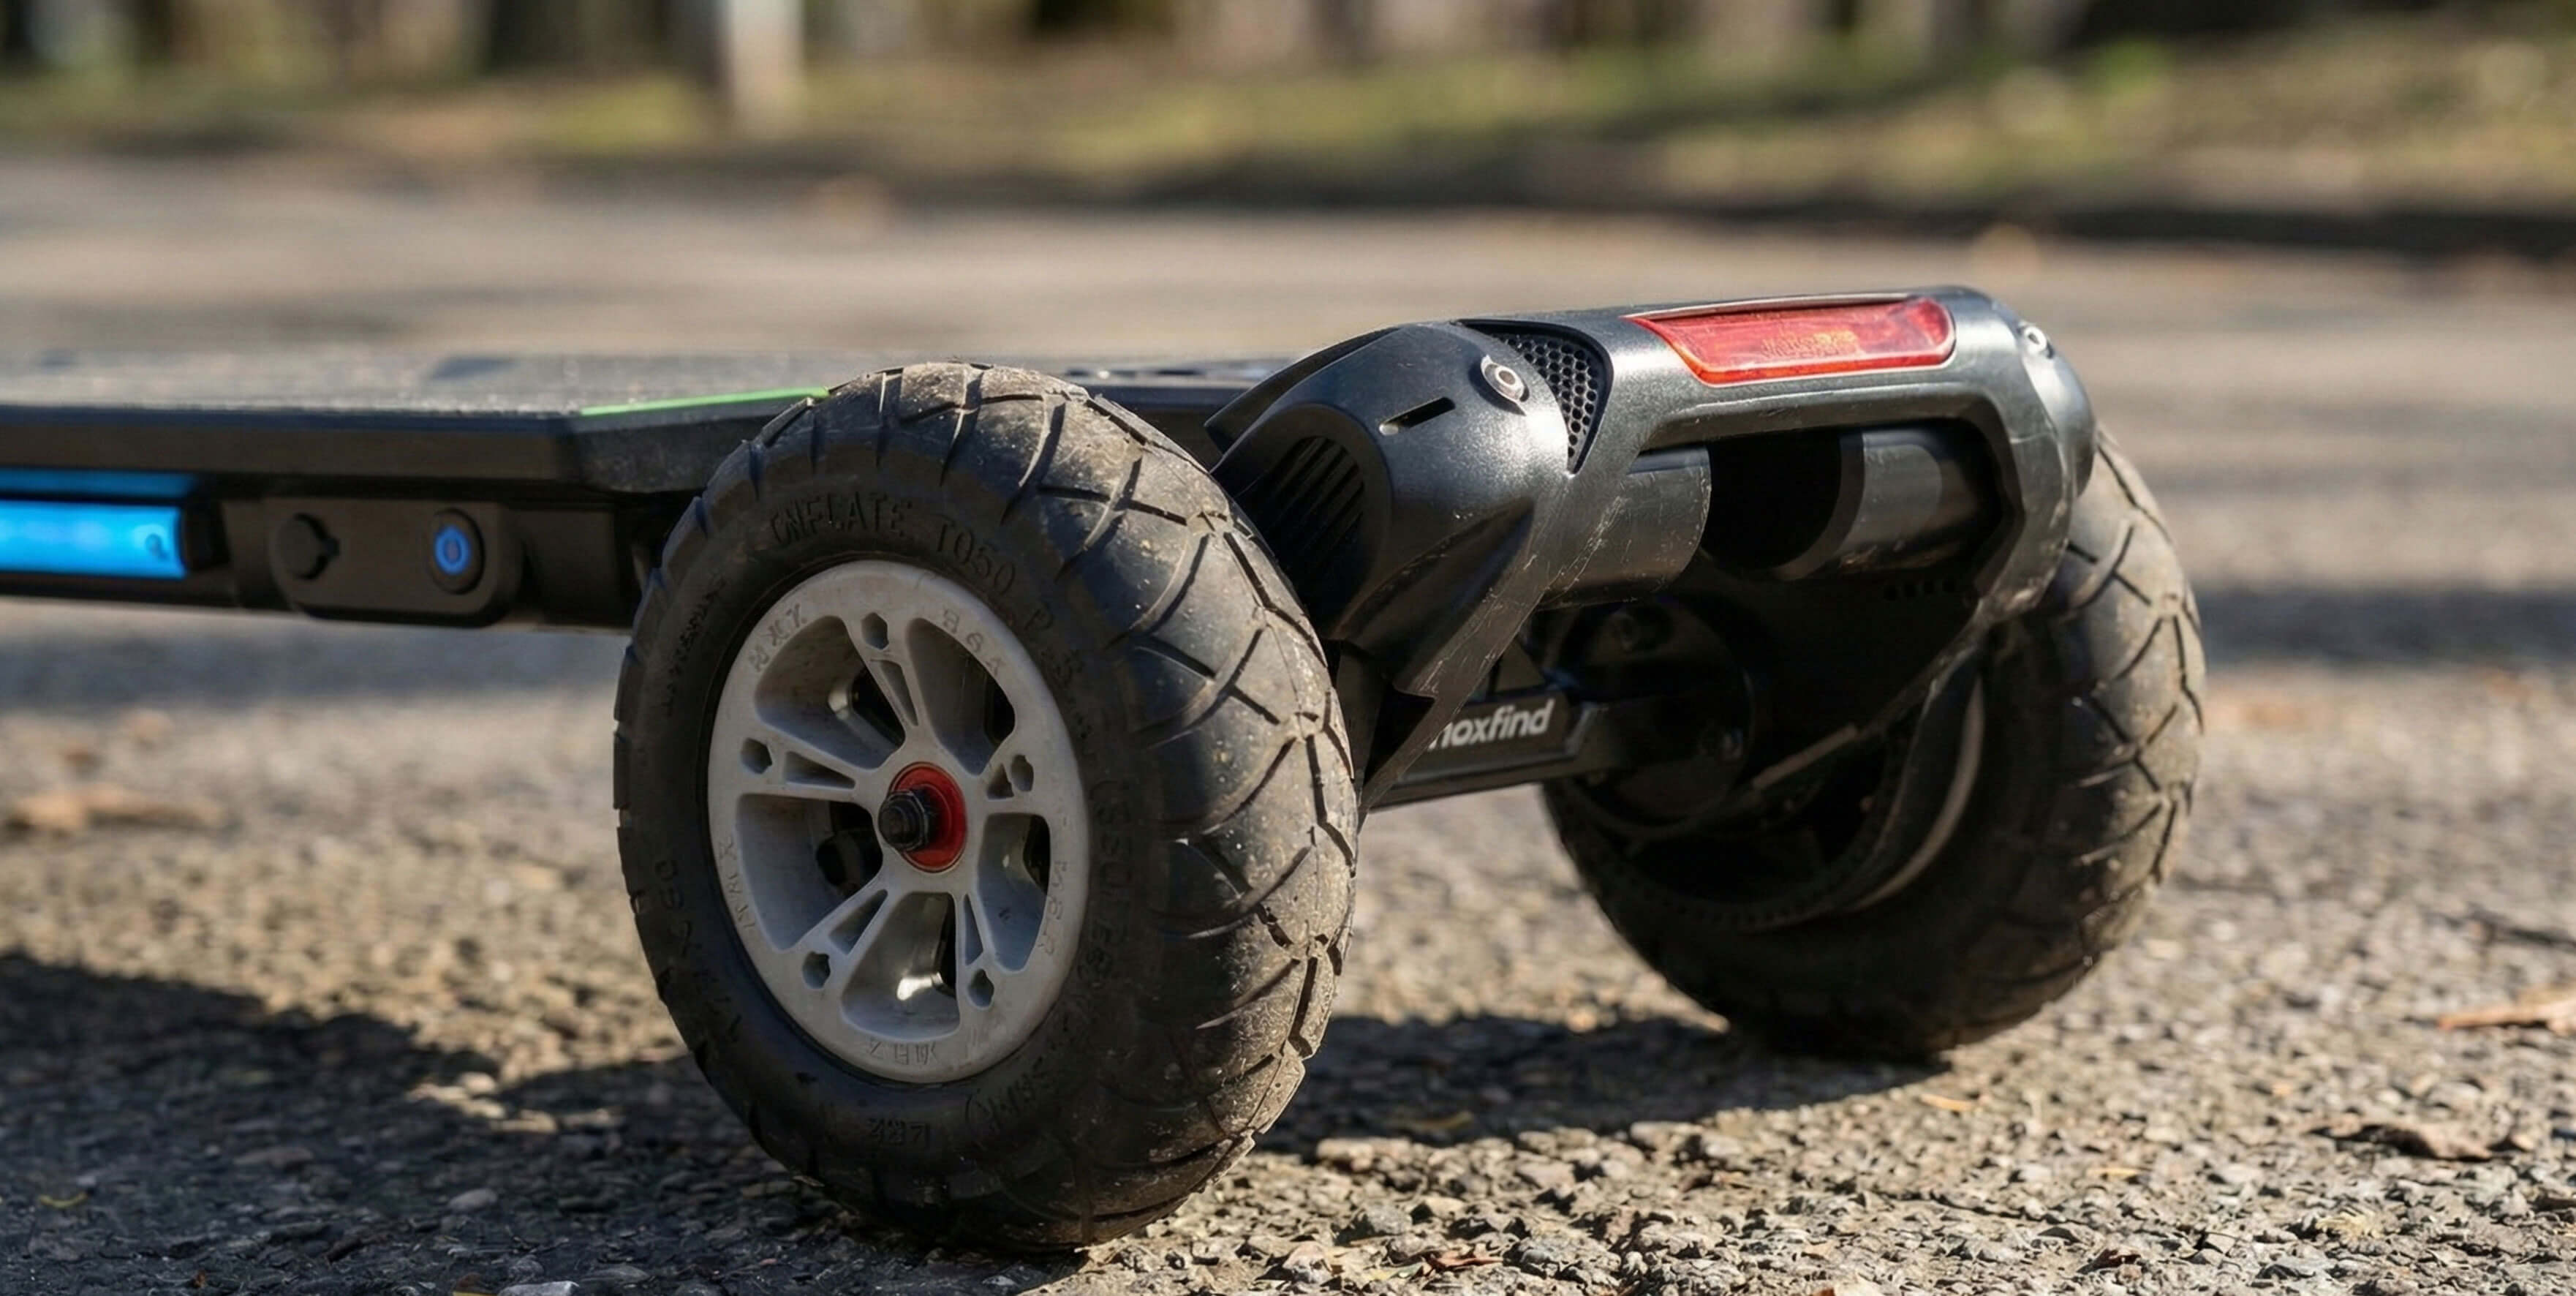
Wheel size affects both the ride comfort and performance. Larger wheels are better for rough terrain, while smaller wheels offer better control on smooth surfaces.
Diameter: Typical electric skateboard wheels range from 90mm to 107mm in diameter. Larger wheels (around 100mm–107mm) are better for off-road and rough terrain, while smaller wheels (around 90mm–97mm) are suited for smooth streets and higher speeds.
Hardness: Wheels also vary in hardness. Softer wheels (78A–85A) provide better grip and comfort on rough terrain, while harder wheels (88A–101A) are better for smooth pavement and high-speed riding.
The remote controls your skateboard’s speed and braking. It’s essential for safety and control.
Size and Ergonomics: Remotes can vary in size, from compact, handheld models to larger ones with a more ergonomic grip. Choose one that feels comfortable in your hand.

Before starting any upgrades, you need to prepare your old skateboard. Start by removing all the parts attached to the deck. This includes:
Wheels: Use a wrench to remove the nuts that hold the wheels to the trucks. Carefully take off the wheels and keep the nuts in a safe place because you might need them later for mounting the new wheels.
Trucks: Once the wheels are removed, you’ll need to detach the trucks from the skateboard deck. You may need a wrench or screwdriver, depending on how your trucks are fixed. Make sure you remove all the bolts and nuts without damaging the deck, as you’ll be reusing it.
Other Components: If your skateboard has grip tape, riser pads, or any other attachments, you’ll want to remove them. You may want to leave the grip tape on if it’s in good condition, as it will help with stability after the conversion.
By removing these components, you’ll be left with a clean, bare deck ready for the electric motor and other hardware.
The next step is installing the motor. There are two types of motors commonly used in electric skateboard conversions: hub motors and belt-driven motors. The installation process differs slightly depending on which type you choose.
Hub motors are built into the wheels, so you need to remove the old wheels and replace them with the motorized ones. Hub motors are usually easier to install because they integrate directly into the wheels and don’t require complicated mounting. Here’s how you do it:
Remove the old wheels and replace them with the motorized hub wheels.
Ensure the hub motor is securely attached and that the motor shaft fits correctly into the wheel axle.
If you’re going with a belt-driven motor, the process is a bit more involved. Belt-driven motors offer more power and are typically used for high-performance builds. Here’s what you need to do:
Attach the motor mount to the trucks using bolts and screws. This mount will hold the motor in place.
Install the motor onto the mount. Make sure the motor is aligned properly with the wheels so that the belt can run smoothly.
Mount the motor’s pulley onto the motor shaft and the other pulley onto the wheel. The belt will connect these two pulleys, transferring power from the motor to the wheels.
Make sure the motor is tightly secured and the pulleys are aligned to avoid slipping or strain.
Now that the motor is installed, it's time to wire up the ESC (Electronic Speed Controller) and the battery.
The ESC is the brain of the electric skateboard, controlling the motor’s speed and braking functions. Start by attaching the motor wires to the ESC. The ESC usually comes with three wires: one for the positive connection, one for the negative, and one for the motor signal. Make sure to connect these wires correctly, and double-check the polarity to avoid any issues.
Next, connect the ESC to the battery. The battery is what powers the motor, so it’s important to ensure the wiring is done correctly.
Identify the positive and negative terminals on the battery and the ESC. The positive terminal of the battery connects to the positive input on the ESC, and the negative terminal connects to the ESC's negative input.
If your ESC has a power switch, wire that into the circuit as well, so you can turn your skateboard on and off easily.
Once the motor and battery are connected to the ESC, secure all the wires in place. Make sure the wires are routed neatly and don't have any loose ends that could cause short circuits or get caught in moving parts.
When handling electrical components, make sure the battery is not connected to power while you’re wiring. Always double-check connections and consider using heat shrink tubing or electrical tape to cover any exposed wires and prevent short circuits.
Now that the electrical components are all connected, it’s time to set up the remote and test the skateboard.
The remote is your control interface for the electric skateboard. It allows you to accelerate, brake, and sometimes switch between different speed modes. Most electric skateboards come with a remote that pairs with the ESC via Bluetooth or radio frequency.
Follow the instructions included with your remote to pair it with the ESC. Typically, you will need to press a button on both the remote and the ESC to establish a connection.
Secure the receiver for the remote to your skateboard, typically near the front of the deck. This allows the signal to reach the ESC and motor without interference.
Before taking your electric skateboard for a spin, it’s crucial to test everything to ensure it works correctly.
Power on the skateboard and check if the motor spins. Slowly accelerate using the remote and verify that the skateboard moves smoothly.
Test the brakes by using the brake function on the remote. The skateboard should slow down and stop smoothly without any jerking or loss of control.
Check all connections to make sure everything is secure and there are no loose parts.
Test your skateboard in a controlled environment, like a parking lot or empty space. Start at a low speed to ensure everything is functioning correctly. Wear protective gear (helmet, knee pads, elbow pads) when testing your new electric skateboard to stay safe.

One of the most common issues with DIY electric skateboards is battery-related problems. If your skateboard isn’t powering on, check the connections between the battery and ESC. Sometimes, the battery might not be fully charged, or the wiring might have come loose. If charging issues persist, try using a different charger or test the battery with a multimeter to see if it’s functioning properly.
If your motor is making strange noises or isn’t spinning properly, there might be an issue with the motor or ESC. First, check if there’s any debris in the motor. If the motor is clean but still malfunctioning, the ESC might need to be replaced or reprogrammed. Don’t hesitate to consult a professional if needed.
Before hitting the streets, make sure your skateboard is safe to ride. Check the brakes to ensure they’re responsive, and inspect the wiring to make sure everything is securely connected. It’s also a good idea to wear protective gear like a helmet and pads, especially if you’re new to electric skateboarding.
The wheels you choose for your electric skateboard can significantly impact your ride. Larger wheels are better for rougher terrain and uneven surfaces, while smaller wheels are more suited for smooth pavement and high-speed cruising. If you plan to use your skateboard off-road, consider swapping out the wheels for larger, air-filled ones that provide better shock absorption.
Most ESCs allow you to adjust the speed settings to suit your riding style. If you want a faster ride, you can increase the top speed setting, but keep in mind that this will reduce your battery range. If you’re planning longer rides, you might want to prioritize range over speed. Find the balance that works best for you!
Upgrading your old skateboard to an electric one can be an exciting project, but it does come with some challenges. If you’re comfortable with DIY and enjoy working with electrical components, this can be a fun and rewarding experience. However, if you’re not familiar with electronics or don’t want to deal with selecting and wiring individual parts, consider using a pre-packaged electric skateboard kit. Our Maxfind Cyber Electric Skateboard Kit offers an easy solution, allowing you to skip the complicated component selection and focus only on a simple installation process. This way, you can still enjoy the upgrade without the technical hassle.
Now that you know how to upgrade your old skateboard into an electric ride, it’s time to get started! Whether you're looking to save money or just want to experience the thrill of electric skateboarding, this guide has hopefully made the process a little easier. Don't forget to share your experiences—happy riding!

Share:
FAQ for Beginners on Electric Skateboards
How Fast Do Mini E-Bikes Go?