

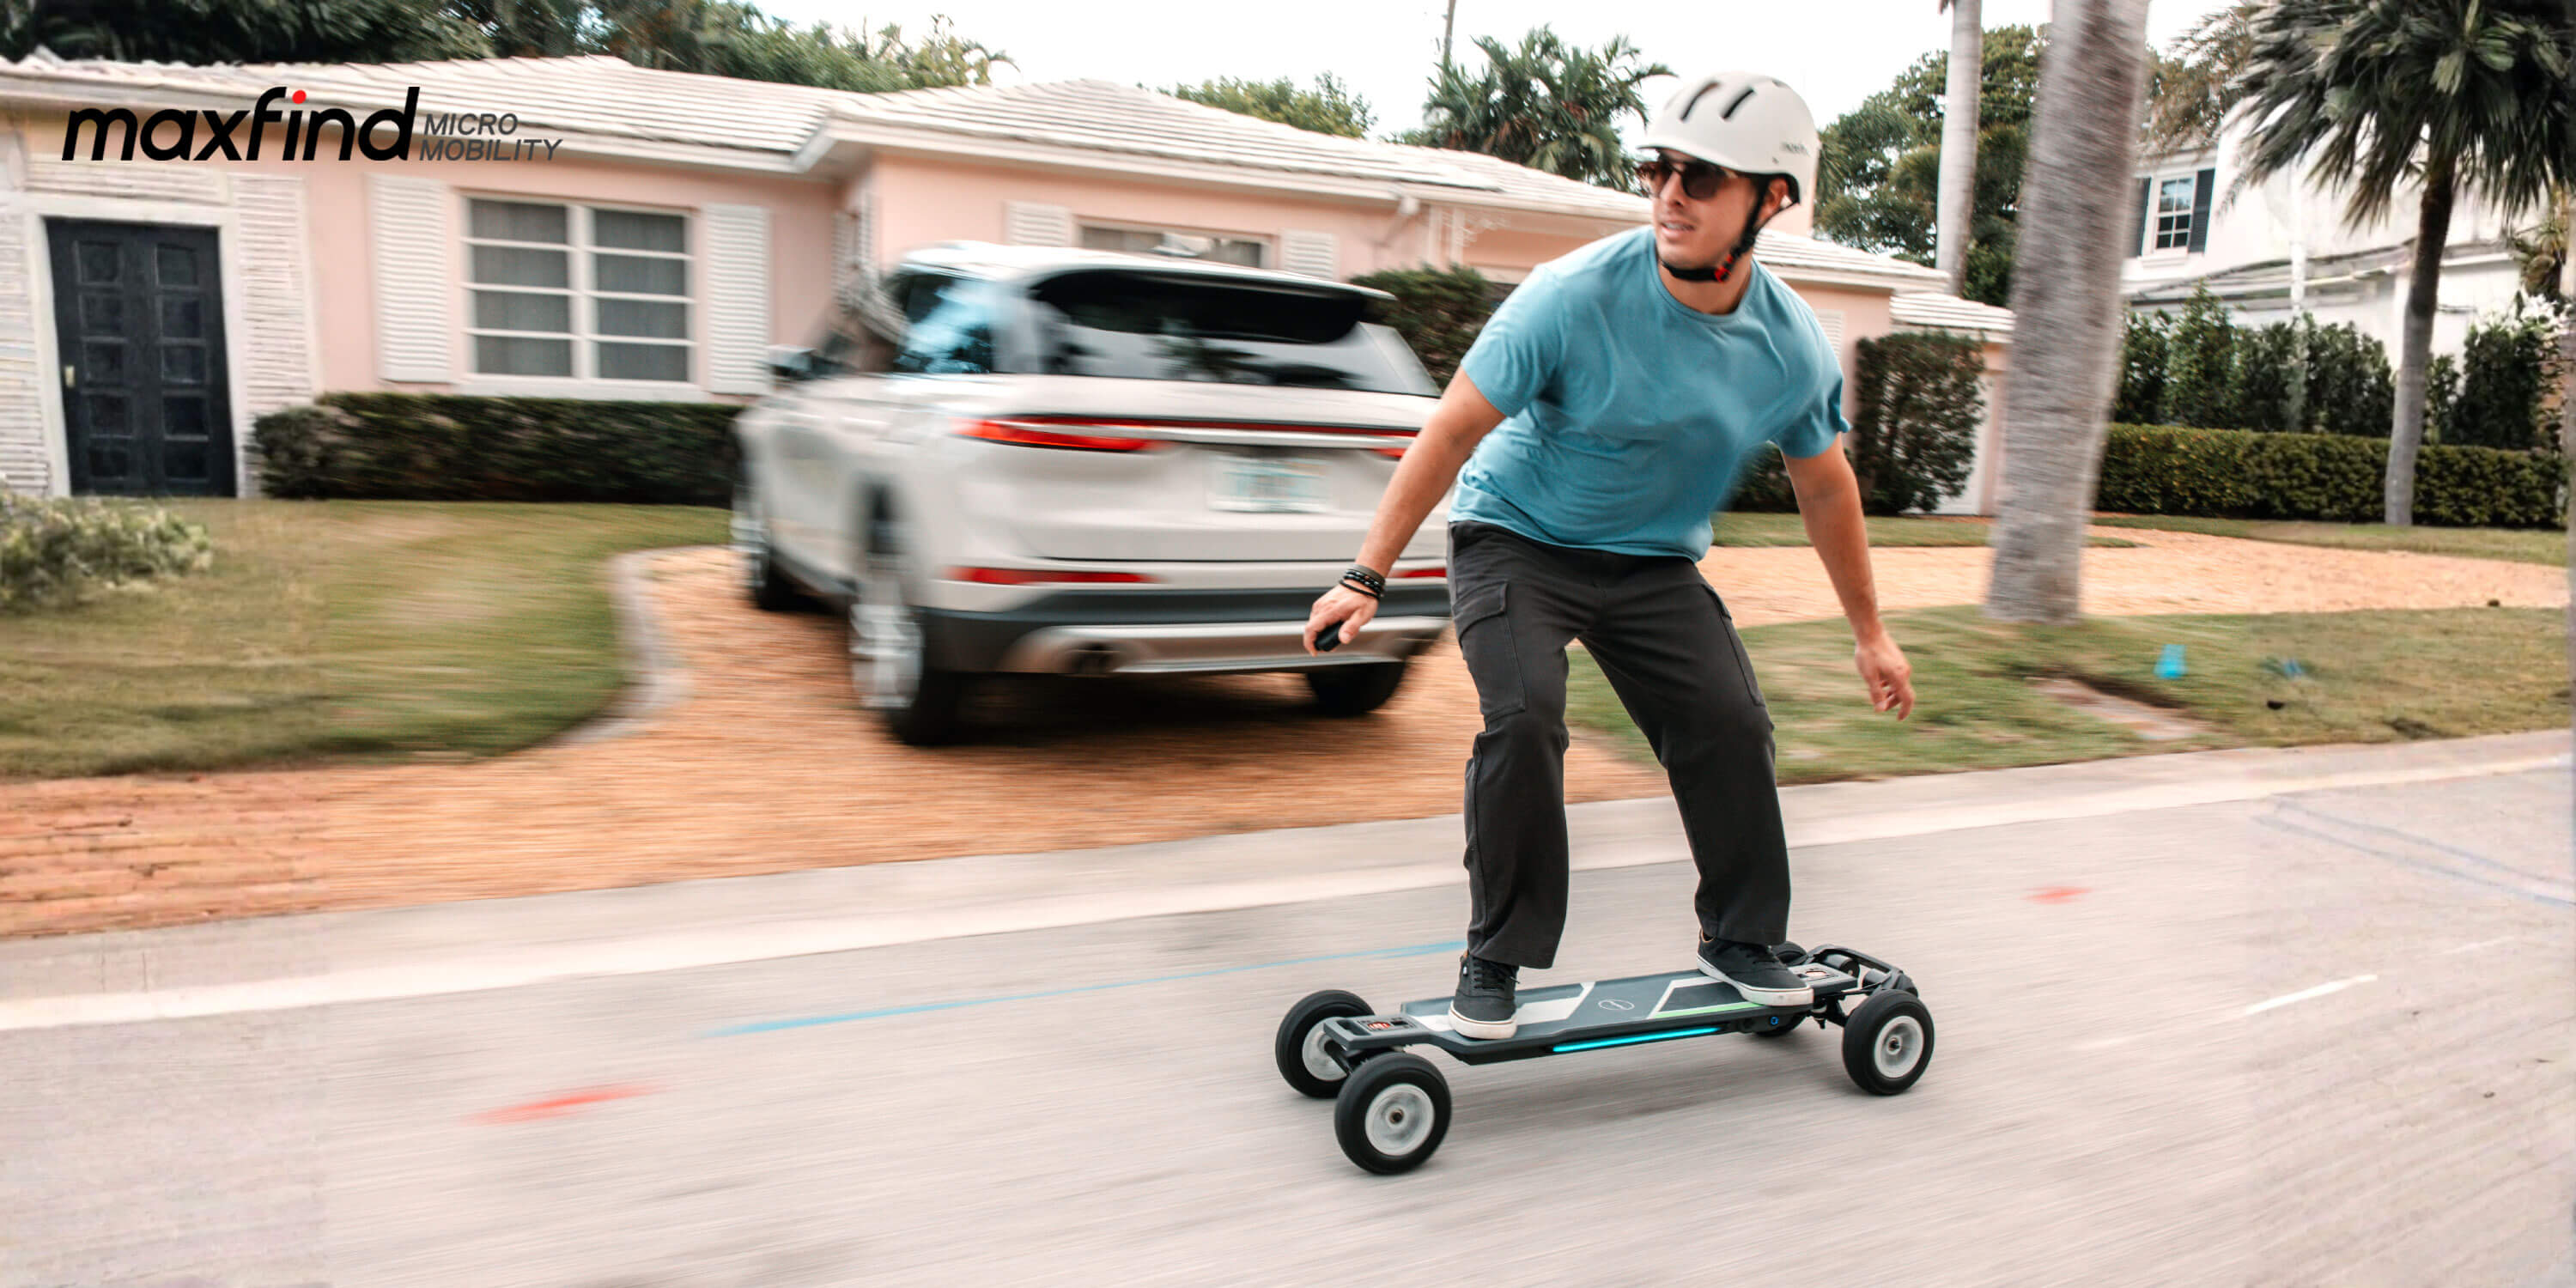
¡Oferta de vuelta a clases! 🏷️ ¡Una excelente relación calidad-precio!
--
Días--
Horario--
Minutos--
SegundosRespuesta rápida: no existe una única cifra de distancia de detención que se aplique a todos los monopatines eléctricos, conductores, superficies y ajustes de freno. Como referencia conservadora, un estudio publicado sobre micromovilidad midió una desaceleración media de aproximadamente 1,4 m/s² para el monopatín eléctrico utilizado en su prueba. Con ese valor, un conductor que viaje a 10 mph necesitaría aproximadamente 23 pies (7,1 m) de distancia de frenado después de comenzar a frenar. Si se añade un tiempo de respuesta de un segundo, el total aumenta a unos 38 pies (11,6 m). A 15 mph, el mismo modelo matemático produce aproximadamente 53 pies (16,1 m) de distancia de frenado y 75 pies (22,8 m) con un tiempo de respuesta de un segundo.
Esas cifras no son resultados oficiales de pruebas de MAXFIND, límites legales ni garantías. La investigación utilizó un monopatín eléctrico de 350 W diferente y probó su condición de mayor velocidad aproximadamente a 8,5–10,5 mph. Los valores superiores a ese rango son extrapolaciones matemáticas, por lo que deben considerarse ejemplos de planificación y no mediciones del rendimiento.
Por eso, para un usuario habitual, la respuesta práctica es más útil: mide la detención repetible más larga que produzcan tu monopatín exacto, el conductor, el ajuste de los frenos y la superficie en un área de pruebas cerrada. Después, añade la distancia de reacción y espacio adicional para tener en cuenta pavimento irregular, pendientes, peatones y movimientos inesperados.
La distancia de frenado de un monopatín eléctrico comienza en el momento en que el conductor acciona el freno y termina cuando el monopatín se detiene por completo. La distancia total de detención comienza antes, cuando el conductor ve por primera vez un motivo para detenerse.
| Medición | Punto inicial | Punto final | Lo que indica |
|---|---|---|---|
| Distancia de reacción | Aparece el peligro o la señal de detención | El conductor comienza a frenar | Cuánto avanza el monopatín mientras el conductor reconoce la situación y actúa |
| Distancia de frenado | Comienza el frenado | El monopatín alcanza velocidad cero | Cómo funcionan conjuntamente el monopatín, el conductor, la superficie y el ajuste de los frenos |
| Distancia total de detención | Aparece el peligro o la señal de detención | El monopatín alcanza velocidad cero | La distancia despejada que necesita el conductor para reconocer un problema y detenerse |
Esta distinción importa en los semáforos en rojo y en los senderos compartidos. Si empiezas a reducir la velocidad en el mismo punto de referencia conocido cada mañana, el resultado medido describe principalmente la distancia de frenado. Si un peatón entra inesperadamente en el camino, la distancia de reacción pasa a formar parte del evento.
La investigación de la Administración Federal de Carreteras sobre los usuarios de senderos describe la distancia de visibilidad de detención como la distancia de reacción más la distancia física de frenado. Esa investigación utiliza una referencia de 2,5 segundos de tiempo de reacción para los ciclistas, aunque también señala que el tiempo de reacción puede variar según el grupo de usuarios y cada persona. No es una norma para monopatines eléctricos, pero sirve como recordatorio de que una detención inesperada puede requerir mucho más espacio que una prueba de frenado planificada.
En un modelo simplificado de desaceleración constante, la distancia de frenado se calcula así:
Distancia de frenado = velocidad² ÷ (2 × desaceleración)
Como la velocidad está elevada al cuadrado, la distancia de frenado no aumenta de forma lineal. Si la desaceleración se mantuviera constante, duplicar la velocidad produciría aproximadamente cuatro veces la distancia de frenado. Los monopatines eléctricos reales son más complejos, porque el frenado del motor, la configuración del controlador, el agarre de las ruedas, el equilibrio del conductor, la pendiente de la carretera y el estado de la batería pueden afectar a la detención. La relación cuadrática con la velocidad sigue explicando por qué añadir solo unos pocos kilómetros por hora puede consumir una cantidad sorprendente de pavimento.
La siguiente tabla utiliza la desaceleración media medida para monopatines eléctricos en el estudio del Virginia Tech Transportation Institute: 1,4 m/s². La columna de un segundo utiliza un intervalo de respuesta ilustrativo sencillo, no una norma de seguridad. La columna de 2,5 segundos utiliza la referencia de la FHWA para ciclistas únicamente como comparación conservadora de la distancia de visibilidad. Ninguno de los dos tiempos de reacción es un valor universal para los conductores de monopatines eléctricos.
| Velocidad inicial | Distancia de frenado modelada | Con un tiempo de respuesta de 1,0 segundo | Con una referencia de distancia de visibilidad de 2,5 segundos |
|---|---|---|---|
| 8 mph | 15 ft / 4.6 m | 27 ft / 8.1 m | 44 ft / 13.5 m |
| 10 mph | 23 ft / 7.1 m | 38 ft / 11.6 m | 60 ft / 18.3 m |
| 12 mph | 34 ft / 10.3 m* | 51 ft / 15.6 m* | 78 ft / 23.7 m* |
| 15 mph | 53 ft / 16.1 m* | 75 ft / 22.8 m* | 108 ft / 32.8 m* |
*Las pruebas del estudio con monopatines eléctricos se realizaron a velocidades objetivo más bajas. Las filas de 12 mph y 15 mph son extrapolaciones a partir del mismo valor de desaceleración, no resultados medidos. Un monopatín concreto puede detenerse en una distancia menor o mayor.
La tabla no debe convertirse en una promesa de que todos los monopatines pueden detenerse en una determinada cantidad de pies. Su función es mostrar la escala. A velocidades normales de desplazamiento, un conductor puede necesitar decenas de pies —no una o dos longitudes de monopatín— para reconocer un problema y detenerse de forma controlada.
La velocidad es la primera variable que se debe controlar. Una prueba a «aproximadamente 15 mph» no es útil si una pasada comienza a 13 mph y otra a 17 mph. Registra la velocidad real de entrada en la línea de frenado y agrupa solo las pasadas que comiencen dentro de un intervalo de velocidad reducido.
En un modelo físico ideal limitado por la fricción, la masa puede cancelarse en la ecuación de distancia de frenado. Un monopatín eléctrico no es un modelo ideal. El par de frenado del motor, los límites del controlador, la tracción de las ruedas, la postura y la capacidad del conductor para resistir la transferencia de peso hacia delante afectan al resultado. Por lo tanto, un conductor más pesado debería medir el monopatín en lugar de asumir que se aplicará el resultado de un conductor más ligero.
El asfalto seco y liso, el asfalto rugoso, las marcas pintadas, el polvo, la gravilla suelta, las grietas y las pendientes descendentes pueden producir detenciones diferentes. Deben registrarse las condiciones de la superficie, no resumirse simplemente como «carretera». Las pruebas en superficies mojadas no deben utilizarse como experimento informal en casa. Las páginas actuales de productos de MAXFIND advierten que la exposición al agua puede dañar la tabla y recomiendan evitar la lluvia intensa.
Una configuración de freno más intensa puede acortar la distancia de detención, pero la detención más corta no es automáticamente la mejor para desplazamientos diarios. Si el frenado llega de forma demasiado brusca, el usuario puede bajarse, perder la postura o soltar el freno antes de llegar a cero. Los investigadores que estudian el frenado de vehículos de micromovilidad miden tanto la desaceleración como el tirón, porque el control depende de cómo aumenta la fuerza de frenado, no solo de la distancia final.
Una prueba repetible requiere una postura repetible. Mantén las rodillas flexionadas, mira hacia delante y desplaza el peso gradualmente para resistir la inclinación hacia delante. Si el usuario arrastra un pie o se baja, registra la ejecución como no válida para la comparación del frenado electrónico. Aun así, puede ser útil como observación del control del usuario.
Mantén lo más constantes posible el estado de la batería, el estado de las ruedas, la presión de los neumáticos cuando corresponda, la configuración de los trucks, la carga del control remoto y la temperatura de la tabla. No compares una configuración recién preparada con ruedas desgastadas o un firmware diferente y atribuyas la diferencia al nivel de la tabla.

El CYBER MAX estándar y el MAX5S comparten varias características de hardware publicadas que pueden ayudar a aislar diferencias menores en la calibración y la interacción con el usuario. Ambos utilizan dos motores de buje de 650 W, ruedas de PU de 90 mm, un ESC Hobbywing V6.0 FOC, una tabla compuesta de 38 pulgadas y frenado regenerativo electrónico.
| Especificación publicada | CYBER MAX estándar | MAX5S | Por qué es importante en la prueba |
|---|---|---|---|
| Transmisión | Dos motores de buje de 650 W | Dos motores de buje de 650 W | Mantiene comparable la categoría básica del sistema de transmisión |
| ESC | Hobbywing V6.0 FOC | Hobbywing V6.0 FOC | Crea un punto de partida similar para la plataforma de control |
| Sistema de frenado | Frenado regenerativo electrónico | Frenado regenerativo electrónico | Permite realizar una prueba controlada a distancia exclusivamente del freno |
| Ruedas | PU de 90 mm | PU de 90 mm | Reduce las diferencias de diámetro de las ruedas |
| Peso publicado | 19,8 lb / 9 kg | 20,5 lb / 9,3 kg | El peso de la tabla es similar, pero aun así debe registrarse |
| Velocidad máxima publicada | 28 mph / 45 km/h | 24 mph / 40 km/h | La velocidad máxima no es la velocidad de prueba; ambas deben probarse con la misma velocidad de entrada |
Esta comparación se aplica al CYBER MAX estándar con motores de buje de 90 mm. La página del producto CYBER MAX también incluye las configuraciones LR, MAX6, PRO y X, con baterías, motores, ruedas, pesos y velocidades máximas diferentes. No combines sus especificaciones ni resultados de prueba bajo una única etiqueta genérica de «CYBER MAX».
El hardware compartido tampoco demuestra que la distancia de detención sea idéntica. El firmware, los ajustes del freno, el desgaste de las ruedas, la posición del conductor, los cambios de producción y la forma en que se acciona el mando aún pueden modificar el resultado. Precisamente por eso, una prueba controlada es más útil que hacer suposiciones a partir de la potencia del motor.
El siguiente procedimiento es un protocolo práctico de comparación sobre el terreno, no un estándar de certificación reglamentario ni una afirmación oficial de MAXFIND sobre la distancia de detención.
Nota de seguridad: utiliza una zona cerrada, seca y nivelada, sin vehículos, peatones, mascotas ni obstáculos fijos en el carril de detención. Usa un casco certificado, protección para las muñecas, rodilleras, coderas, calzado cerrado, mangas largas y pantalones largos. Utiliza un conductor experimentado y un observador. Comienza a velocidad de caminata. El frenado con el máximo esfuerzo solo debe realizarse por probadores cualificados en una zona de escape controlada.
Elige una superficie recta con suficiente espacio para acelerar, una línea de frenado claramente marcada y una zona de escape larga y despejada. Comprueba que no haya arena, hojas, pintura, grietas, tapas de drenaje ni pendientes. Registra la superficie y la inclinación en lugar de confiar en la memoria.
Registra el modelo completo y la configuración, el peso del conductor con su equipamiento habitual, el tamaño y el estado de las ruedas, el ajuste del freno, el porcentaje de batería, la temperatura ambiente y la superficie. “CYBER MAX” no es lo bastante específico si la familia del producto incluye varias opciones de motor y ruedas.
Comienza a 6–8 mph. El conductor debe alcanzar una velocidad estable antes de cruzar la línea de frenado. No aceleres al iniciar el frenado. Confirma la velocidad real mediante video, GPS o una zona de tiempo medida.
Para una prueba de frenado de la tabla, el conductor debe comenzar a accionar el freno del mando en la línea marcada, utilizando la misma acción prevista en cada prueba. Decide de antemano si la prueba representa una parada normal de desplazamiento diario o una parada controlada brusca. No mezcles ambas en un mismo conjunto de datos.
Utiliza un punto físico de referencia, como el eje delantero, y mantén esa referencia constante. El video ayuda a identificar el fotograma en el que comienza el frenado y en el que termina el movimiento hacia delante. Si el conductor acciona el freno antes de la línea, se baja, arrastra un pie, se sale del carril o entra fuera de la tolerancia de velocidad, marca la prueba como no válida en lugar de modificar el número.
Usa pasadas de calentamiento antes de recopilar datos. Completa al menos cinco recorridos válidos para cada condición. Informa de la mediana, la parada válida más corta y la parada válida más larga. La media por sí sola puede ocultar la parada larga que más importa a un usuario que se desplaza a diario.
Pasa de 8 mph a 10, 12 y 15 mph solo después de que el usuario realice paradas estables y repetibles a la velocidad inferior. Detén la prueba si el usuario pierde la postura, la tabla se comporta de forma inconsistente, el carril se contamina, el mando informa de un fallo o el recorrido restante ya no ofrece un amplio margen de seguridad.
Cambiar todas las variables a la vez produce muchos números, pero pocos conocimientos útiles. Prueba un factor cada vez.
| Factor | Niveles sugeridos | Mantener constante | Pregunta respondida |
|---|---|---|---|
| Velocidad | 8, 10, 12 y 15 mph | Tabla, usuario, superficie y ajuste del freno | Con qué rapidez aumenta la distancia de frenado con la velocidad |
| Ajuste del freno | Cada ajuste mostrado disponible en la configuración exacta | Velocidad, usuario, superficie y autonomía de la batería | Si un frenado más intenso acorta la parada sin reducir el control |
| Peso del usuario | Dos usuarios experimentados de distinto peso corporal, ambos dentro del límite del producto | Tabla, velocidad, ajuste y superficie | Cómo la masa combinada cambia la frenada repetible |
| Superficie seca | Asfalto liso y asfalto rugoso | Tabla, usuario, velocidad y ajuste | Si la textura y la vibración cambian el resultado |
| Tabla | CYBER MAX estándar y MAX5S | Mismo usuario, velocidad, superficie y procedimiento de prueba | Si dos configuraciones similares para desplazamientos diarios se comportan de forma diferente |
No uses mochilas ni lastre suelto para simular un usuario más pesado. Recluta en su lugar a un segundo probador cualificado. No añadas intencionadamente agua, aceite, arena ni otros contaminantes para crear una prueba de baja adherencia.
| Campo | Ejemplo de entrada |
|---|---|
| Tabla | CYBER MAX estándar, PU de 90 mm, motor de buje |
| Usuario | Usuario A, peso corporal más el equipo |
| Superficie y pendiente | Asfalto seco y rugoso, superficie nivelada |
| Batería y temperatura | Registrado antes del conjunto de pruebas |
| Ajuste del freno | Valor exacto mostrado por el mando a distancia o la aplicación |
| Velocidad de entrada | Velocidad medida en la línea de frenado |
| Distancia de frenado | Distancia desde el eje delantero, desde la línea de frenado hasta la parada completa |
| Notas de control | Estable, tambaleo, contacto del pie, deslizamiento de la rueda o liberación prematura |
| Validez | Válida o no válida, con el motivo |
La mediana muestra el comportamiento habitual de la configuración sin permitir que una prueba inusualmente corta o larga domine el resultado. La parada válida más larga muestra el límite superior observado en ese conjunto de pruebas. A un usuario que se desplaza a diario deberían importarle ambas.
Si un ajuste de freno alto acorta la distancia medida, pero provoca repetidamente movimiento de los pies, tambaleo o una liberación prematura del freno, puede no ser el ajuste diario más fiable para ese usuario. La calidad del frenado también incluye la previsibilidad.
Una parada de 22 pies que comienza a 9,3 mph no es automáticamente mejor que una parada de 25 pies que comienza a 10,2 mph. Normaliza el intervalo de velocidad de entrada antes de comparar tablas, usuarios o configuraciones.
Si cinco recorridos producen resultados similares, es más fácil planificar en torno a esa configuración. Si los resultados están muy dispersos, investiga el control de la velocidad, la intervención del usuario, la superficie, el hardware y los errores de medición antes de sacar una conclusión.
La distancia de frenado medida es solo una parte del espacio que debes reservar. Un cálculo práctico para planificar tu trayecto es:
Espacio despejado para detenerse = mayor distancia de frenado válida + margen de reacción + margen adicional por las condiciones
El margen de reacción puede estimarse multiplicando la velocidad por el tiempo de reacción. A 10 mph, la tabla recorre aproximadamente 14,7 pies (4,47 m) por segundo antes de añadir la distancia de frenado. A 15 mph, recorre aproximadamente 22 pies (6,71 m) por segundo.
El margen de seguridad no es un porcentaje universal. Debe aumentar cuando la visibilidad está bloqueada, el trayecto tiene pendiente descendente, el pavimento está sucio o deteriorado, hay peatones cerca, la iluminación es deficiente o el usuario está cansado. Si el camino despejado visible es más corto que el espacio necesario para reconocer un problema y detenerse, el ajuste correcto es reducir la velocidad, no frenar de forma más agresiva en el último segundo.
Para obtener respuestas más amplias sobre la reserva de autonomía, la calidad del pavimento, la portabilidad y el servicio técnico, consulta la evaluación de seguridad y fiabilidad para desplazamientos diarios de MAXFIND. La distancia de frenado es solo un aspecto específico de esa decisión más amplia.

Usando como referencia de investigación una desaceleración media medida de 1,4 m/s², la distancia de frenado calculada es de aproximadamente 23 pies (7,1 m) después de comenzar a frenar. Al añadir un tiempo de reacción de un segundo, el total es de aproximadamente 38 pies (11,6 m). Tu tabla y usuario concretos pueden detenerse en una distancia menor o mayor, así que usa esto como referencia de escala y realiza una prueba controlada.
Comienza a 6–8 mph y avanza a 10, 12 y 15 mph solo después de lograr paradas estables. La velocidad máxima anunciada de una tabla no es un punto de partida adecuado para una prueba de frenado durante el trayecto diario.
A menudo, pero el tamaño de la diferencia depende del sistema de frenado real, los límites del controlador, la tracción y la técnica del usuario. No extrapoles el resultado de un usuario más ligero a uno más pesado sin probar la misma tabla, velocidad, configuración y superficie.
No. Puede producir una distancia más corta, pero también puede generar una transferencia de peso más brusca, que para un conductor concreto resulte más difícil de controlar. Compara conjuntamente la distancia, la consistencia y la estabilidad.
No. Sus configuraciones estándar publicadas comparten varias características de hardware, pero unas especificaciones compartidas no demuestran que el comportamiento de frenado sea idéntico. Prueba el monopatín exacto de producción, el firmware, la configuración del mando o de la aplicación, el conductor y el estado de las ruedas.
Ningún conductor ocasional debería realizar una prueba de frenado de emergencia sobre pavimento mojado. MAXFIND advierte que la exposición al agua puede dañar el monopatín y recomienda evitar la lluvia intensa. Registra únicamente las condiciones que se produzcan de forma natural dentro de un programa controlado profesionalmente y no interpretes una clasificación IPX5 como permiso para circular bajo la lluvia o sobre agua estancada.
Para desplazarte en monopatín eléctrico, «¿A qué velocidad llega?» es una pregunta incompleta sin «¿Cuánto espacio despejado necesito para detenerme?». A 10 mph, incluso una parada preparada puede consumir varias longitudes del monopatín. Al incluir el tiempo de reacción, la distancia necesaria aumenta mucho.
La cifra más útil no es una afirmación genérica de internet. Es la parada repetible más larga medida con tu configuración exacta en condiciones controladas, combinada con un margen suficiente para el tiempo de reacción y las condiciones, de modo que puedas afrontar una ruta urbana real. Comienza a baja velocidad, auméntala gradualmente y elige una velocidad de crucero que siempre quepa dentro del trayecto despejado que realmente puedas ver.
Especificaciones del producto y contenido de la página comprobados el 29 de julio de 2026. Confirma la página actual del producto, el manual, el firmware y las normas locales de circulación antes de probar o publicar afirmaciones de rendimiento específicas del modelo.

Compartir:
Seguridad y fiabilidad de Maxfind para los desplazamientos: cómo evaluar los viajes diarios aptos para la lluvia
Guía de tamaños de ruedas para monopatines eléctricos: 90 mm frente a 105 mm y 120 mm